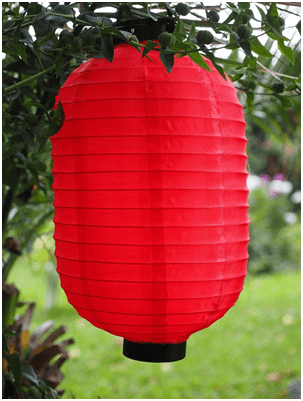
These paper lanterns are so easy and fun to make that they are quite popular to make for a science project or even for the Chinese New Year. We’ll show you the basic steps, plus some creative ideas to spice up this classic paper craft.
Materials Required
- Garden sticks or willow twigs.
- Masking tape.
- Tissue paper – light colours are the best for paper lanterns.
- PVA glue (mixed with water to a ratio of 1:1).
- A small piece of sponge.
- Torch.
- A piece of string about 50 – 60cm long.
- A strong stick or cane – be careful of splinters.
Procedure
- With the help of masking tape, make a 3D shape from the sticks, taping together the ends and points where the sticks join.
- Ensure you use plenty of masking tapes to make strong joints.
- Do be adventurous with your shape. It doesn’t have to be a pyramid! For rounded shapes, use willow twigs, as they can be bent into shape.
- Use a sponge to saturate a square of tissue paper – (not too
- large) with the PVA solution.
- Lay the tissue over the framework of your 3D shape.
- Repeat this process until the entire framework of your lantern has been covered, making sure that the tissue squares overlap. Ideally, you should have more than one layer of tissue paper.
- Leave to dry.
- Cut a small hole in the paper at the top of the lantern.
- Tie one end of the string to the bottom of the torch, then thread the other through the small hole in the lantern and pull it up until the lit end of the torch hangs down to about the middle of the lantern. Tie the string securely to the frame, leaving some spare.
- Tie this spare end of the string to the stick so that the lantern hangs free.
- Turn on your torch and see your beautiful lantern.
Comments